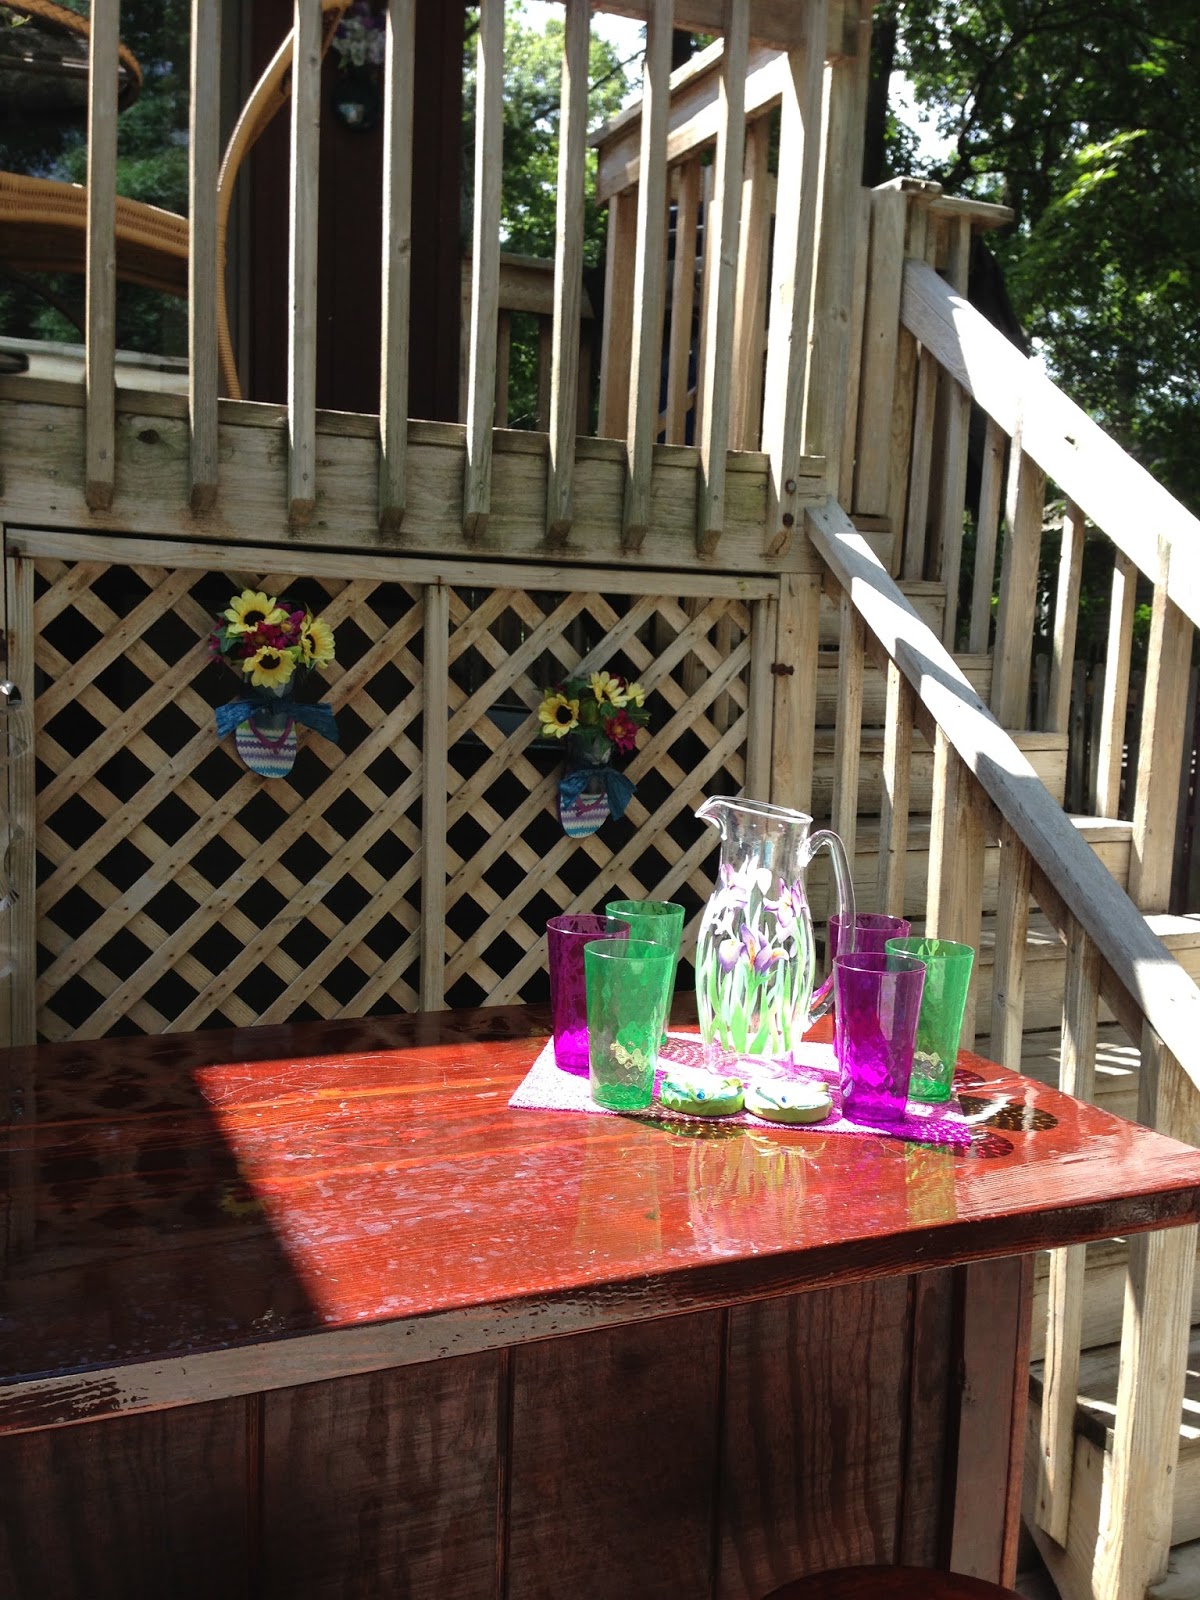
This was one of my favorite projects. I had an old split rail fence in the yard that I took down a few years ago. I saved some of the posts and rails. I finally came up with a project to use them. Below learn how I put this together.
You will need:
4 Pieces of wood
3 Solar Lights
Sander and Sand Paper
Stain
Polyurethane
4 small "L" brackets
Steps:
Cut the wood into 4 pieces (39 inches, 33 1/2 inches, 27 inches and 14 inches). Make them level.
You can use wood that you have on hand.
Sand the wood.
Once the wood is sanded put one or two coats of stain depending on the color you want to achieve.
Let the stain dry over night and apply two coats of polyurethane. I allowed the wood to dry overnight after each coat.
Now it's time to assemble the project. I asked my husband to help me with this part. I played with the pieces until I found the best placement of the wood. The smallest piece of wood is used in the middle as the anchor piece. All the pieces will attach to that one. It gives space between the the posts for the solar lights.
I decided to catty corner the wood
(see picture above).
I used 4 inch screws and put them in on a diagonal to the small piece.
Now you are ready to drill the holes for the solar lights. Use a drill bit that is the same size at the post of the solar light. When picking the solar lights make sure you pick ones that have a round post and not a square post.
Once the lights are in, pick a sunny spot on your deck or garden to place the unit. I used 4 "L" brackets to attach it to the deck. Let it sit in the sun for the day and when it gets dark watch the lights come on.
When I chose the lights I didn't realize one of the lights change color. I was going to return it and get a white light but I decided it made the project more interesting.
I hope the instructions are easy to follow. Let me know if you have any questions.
Lisa
simplycreativebylisa@gmail.com
This blog is devoted to creativity. You will find do it yourself projects, unique baked items and homemade chocolate.
Monday, August 5, 2013
Sunday, August 4, 2013
Tea Cup Bird Feeder
This is a very simple project. My kitchen window faces the front of the house. I spend so much time in the kitchen. I like to look out and see the birds at my bird feeder.
You will need:
Old tea cup and saucer
Pole to hand it on
Gorilla Glue
Short piece of Chain
Steps:
Take your tea cup and position it on the saucer just a little off center and glue it using Gorilla Glue. Allow it to dry over night. You don't need to worry about any excess glue.
Insert you pole where ever you want your bird feeder.
Use a short piece of chain to hang the bird feeder.
Fill the bird feeder with bird seed and ENJOY!
You will need:
Old tea cup and saucer
Pole to hand it on
Gorilla Glue
Short piece of Chain
Steps:
Take your tea cup and position it on the saucer just a little off center and glue it using Gorilla Glue. Allow it to dry over night. You don't need to worry about any excess glue.
Insert you pole where ever you want your bird feeder.
Use a short piece of chain to hang the bird feeder.
Fill the bird feeder with bird seed and ENJOY!
Hand Painted Sneakers
Do you have a pair of white sneakers in the back of your closet?
I've taken a pair of my Keds sneakers and painted them to look like mock wing tips. You can use any pair of white sneakers. This is how I did it.....
You will need:
White Sneakers
Paint - Permanent Acrylic Paint (I used "Apple Barrel" Khaki and Gloss White)
Lead Pencil
Ruler
Paint Brushes
Steps:
Remove the shoelaces
With a lead pencil draw very lightly on the top of the sneak to make the wing tip. You can always erase a line if you need to. I used a ruler to get the point in the center of the sneaker. I only used the pencil to outline the tip of the sneaker.. the rest of the sneaker you can paint free form.
Paint the tip, tongue, area around the shoelaces, back of sneaker in the Khaki color. Next, paint the dots of white and Khaki... follow the pictures above.
Allow the shoes to dry overnight.... ENJOY your creation...
You can use any color you want and even try a different design... don't be afraid to use your creative side.
Send me your pictures. If you have any questions send them to: simplycreativebylisa@gmail.com
Flip Flop Hanger with Summer Flowers
I am always looking for something different. I saw this on the internet and created my own version. Here is what you need and how I did it.
Set of flip flops (don't spend a lot, they will be outside)
Styrofoam - if you are using fake flowers... dirt if you are using real flowers
2 - small plastic cup (use what you have or go to the dollar store)
***make sure you try the cup inside the flip flop to make sure it fits. You are going to glue it on so it doesn't have to be perfect.. you don't want a large cup and a small flip flop***
Craft moss if you are using fake flowers
Real or fake flowers (You can buy the fake flowers at the dollar store)
Outdoor Ribbon
Gorilla Glue or any Glue that can withstand the weather outdoors
Steps:
The first thing you need to do is make your cup of flowers. I used fake flowers so that I didn't need to make sure they are watered. They always look fresh and perfect. If you are using fake flowers put some Styrofoam in the cup and put the moss on top. If your cup is opaque make sure your put the moss around the sides so you don't see the Styrofoam. When using real flowers you will need to make sure your cup has holes in the bottom for drainage. Fill the cup with dirt and plant your real flowers. Make sure you are using flowers that will do well in the area that you are planting them.
Fit your cup inside the flip flop, use the glue (I used Gorilla Glue) to hold the cup against the flip flop. Allow it to dry overnight.
I attached mine to lattice so I ran the outdoor ribbon through the lattice and around the flip flop and cup (see picture above). If you are hanging it on your house or fence just wrap the outdoor ribbon around the cup and flip flop. You can hammer a nail through the flip flop behind the flowers to hang if necessary.
This has brighten up the area around my outdoor bar. I love flowers, they bring a smile to my face every time.
Note: When making your choice between fake and real flowers, consider the weight of the dirt vs. Styrofoam. Where you are hanging the planter should also play a part in your decision.
Hope you love the idea... let me know if you have any questions or issues, I would love to help you solve your problem.
Lisa Tredy
simplycreativebylisa@gmail.com
Subscribe to:
Posts (Atom)